Featured Slider

Perfect Wreath Stamping & Repeat Patterns Every Time | Sizzix Stamp and Spin Tool

Hello there and welcome! I’m Juliana Michaels and thanks so much for joining me. In my latest video, I’m sharing all about how to use the brand new award winning Sizzix Stamp and Spin Tool to create custom wreath designs and repeat patterns! As soon as I saw this tool and the possibilities it holds, I couldn’t wait to take it for a spin myself. Along with an introduction to this tool, I’m also sharing 4 different techniques and ways of using it to create your own custom patterns and designs.

In this blog post, I'm sharing the finishing details for each of the card backgrounds I create in the video.

Custom Wreath Designs and Repeat Patterns with Sizzix Stamp and Spin Tool - Cards created by Juliana Michaels

You can either watch the video below or head over to my YouTube Channel HERE to watch.


If you are interested in the supplies I used to create this card, you can find a complete supply list at the bottom of this post. When you shop through those affiliate links, you help support me and I appreciate that so very much!

No. 1 | THANK YOU CARD

This is the finished card I created using one stamp and one ink color to make a wreath. The stamp set I used to create the wreath is the Sizzix Garden Botanicals Stamp Set. Of course, I couldn't stop with just one color and had to take it to the next level with several more stamps and ink colors. I added a stamped sentiment to the center using the Sizzix Daily Sentiments Stamp Set. For some dimension I added the butterflies die cut from purple cardstock using the Tim Holtz Vault Boutique Die Set. I then mounted the panel onto green cardstock for a finished card size of 5 ½ x 5 ½ inches. 

Thank You Card by Juliana Michaels featuring Sizzix Stamp and Spin Tool

No. 2 | HAPPY MOTHER'S DAY CARD

This is the finished card I created using multiple stamps and ink colors to make a wreath. The stamps I used to create the wreath are the Sizzix Nature Butterflies and Garden Botanicals Stamp Sets. I added a sentiment from the Scrapbook.com Celebrate Expressions stamp set. I stamped it in the center of a piece of white cardstock that I die cut using the Tim Holtz Labels Die Set. I then mounted the finished panel onto green and then purple cardstock for a finished card size of 6 ½ x 6 ½ inches.

Happy Mother's Day Card by Juliana Michaels featuring Sizzix Stamp and Spin Tool

No. 3 | CONGRATS CARD

This is the finished card I created using one stamp and one ink color to make a repeat patten. I then inked the edges with Scorched Timber Distress Ink. I embellished the card with die cuts. I cut a piece of tan cardstock using the viewfinder from the Tim Holtz Vault Picture Show die set and inked the edges with Scorched Timber Distress Ink.  Next, I cut a piece of dark brown cardstock using some of the flourishes from the Tim Holtz Adorned die set. I then cut the butterfly layers from vellum and a teal cardstock using the Tim Holtz Vault Scribbly Butterflies die set.  For the sentiment I used the Sizzix Daily Sentiments stamp set. I then adhered the panel onto a piece of teal cardstock for a finished card size of 4 ¼ x 5 ½ inches.

Congrats Card by Juliana Michaels featuring Sizzix Stamp and Spin Tool

No. 4 | HAPPY BIRTHDAY CARD

This is the finished card I created using multiple stamps and ink colors to make a repeat patten. I cut the butterfly layers from vellum and a dark blue cardstock using the Tim Holtz Vault Scribbly Butterflies die set.  For the sentiment I used the Sizzix Daily Sentiments stamp set and stamped it onto a piece of white cardstock die cut using the banner die from the Tim Holtz Vault Boutique die set. I then adhered the panel onto teal and dark blue cardstock for a finished card size of 4 ¼ x 5 ½ inches.

Happy Birthday by Juliana Michaels featuring Sizzix Stamp and Spin Tool

Thanks so much for stopping by to see more details on how I finished the cards I created using the Sizzix Stamp and Spin Tool.
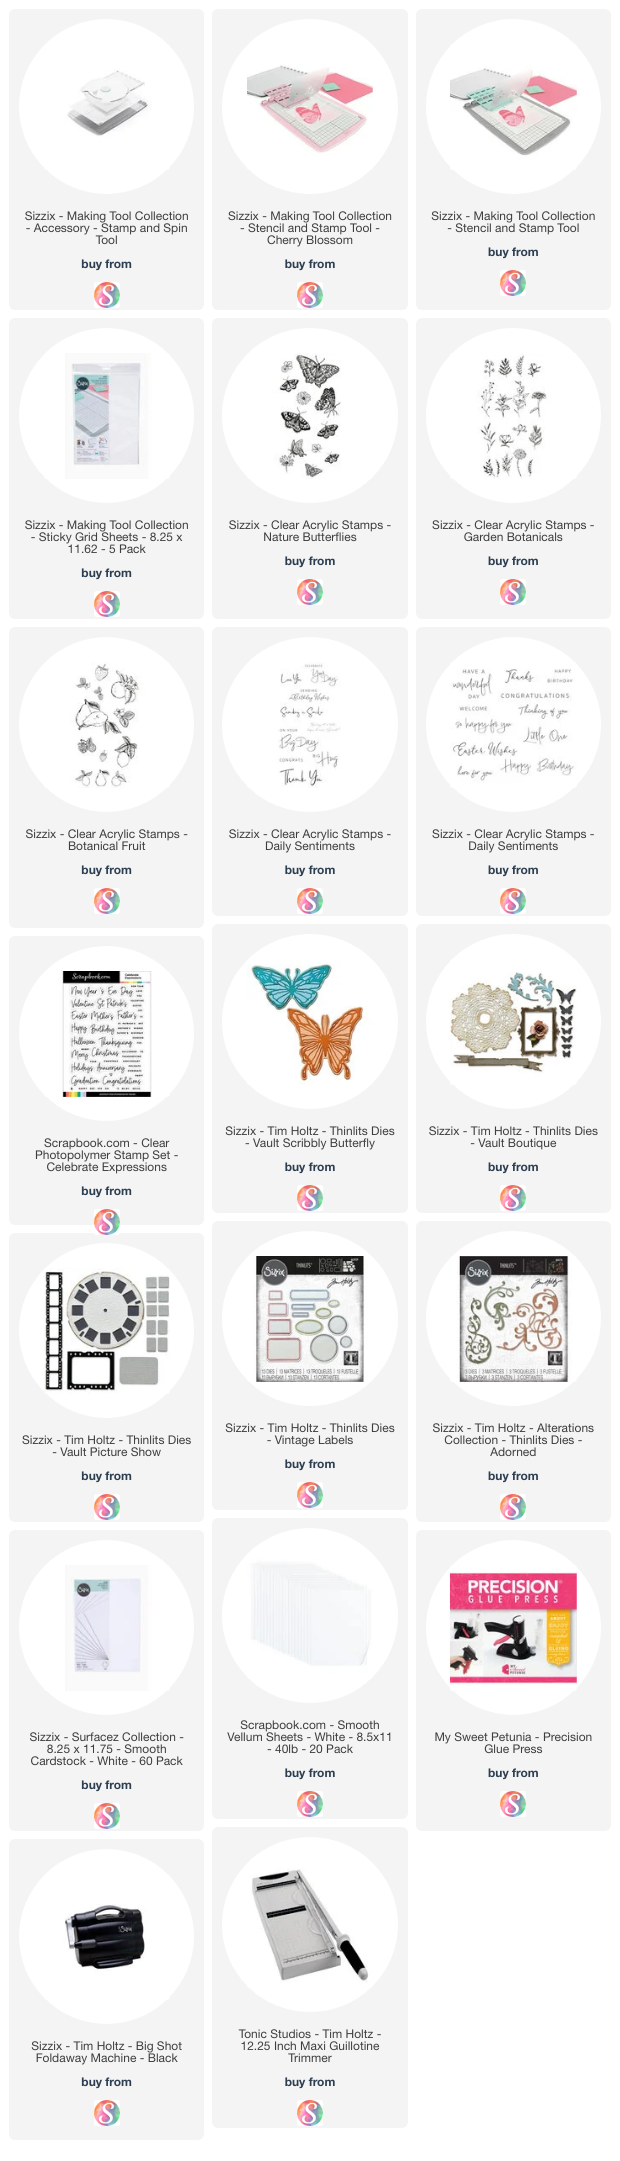
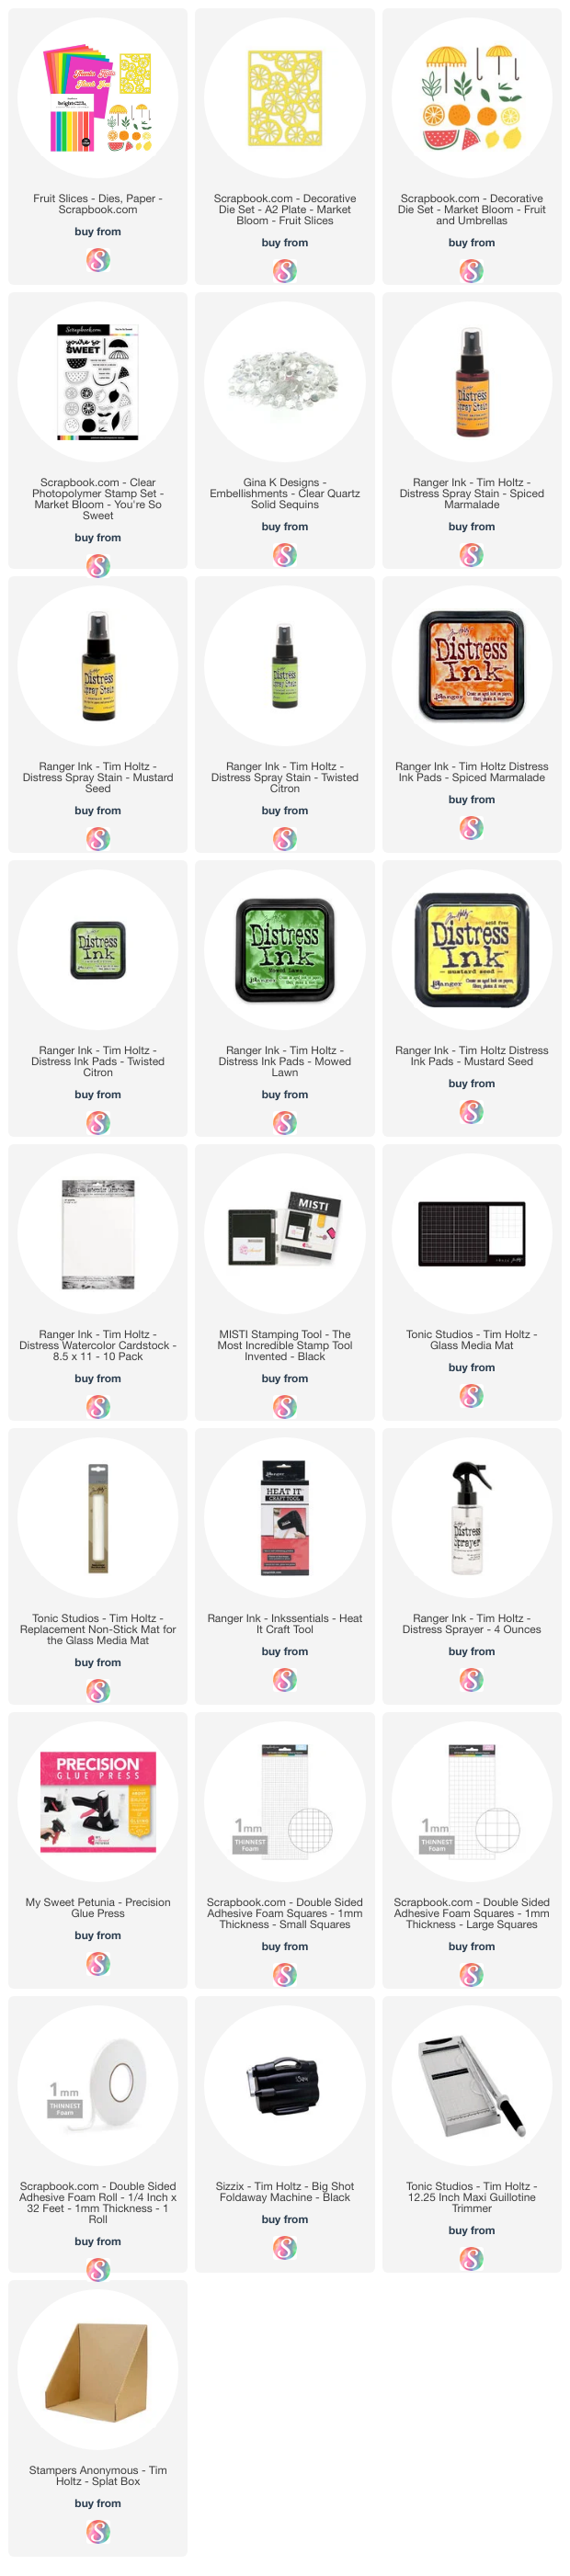
Custom Wreath Designs and Repeat Patterns with Sizzix Stamp and Spin Tool - Cards created by Juliana Michaels


SUPPLIES

Below you can find the supplies I used to create these cards. When you shop through the links below, I receive a small commission from Scrapbook.com. These links are at no cost to you and the commission I receive helps me cover the costs of my blog and other expenses, and allows me to continue to provide you with FREE inspiration and tutorials. If you want to learn more about what an affiliate link is, you can see my full affiliate and product disclosure statement here. Thank you so much for your love and support! 

You're The Zest

You're the zest! If you're looking to add a little zest to your next card making project, make sure to check out the new Fruit Slices bundle from Scrapbook.com.  I used some of the dies included in this bundle AKA mini card making kit, to create this card.

You're The Zest card by Juliana Michaels featuring Scrapbook.com Fruit Slices Bundle, Fruit Slices Coverplate Die, Fruit and Umbrellas Die and You're So Sweet Stamp Set

Here's a look at what's included in the Fruit Slices bundle from Scrapbook.com. You can find a full supply list for my card at the bottom of this post.


To create my card, I switched out the colored cardstock for a custom Distress Spray Stain background and added a stamped sentiment. For the step by step details, keep reading.


1. I started by creating a background using Distress Spray Stains in Twisted Citron, Spiced Marmalade and Mustard Seed on a piece of Distress Watercolor Paper.
2. I then die cut a piece of white cardstock using the Fruit Slices Coverplate Die and adhered that to my spray background.
3. Next, I used the Scrapbook.com Fruit Stand die to cut out the orange slices, lemon slices and leaves from white cardstock. I then inked the layers with Twisted Citron, Mowed Lawn, Spiced Marmalade and Mustard Seed Distress Ink.
4. After the die cutting and inking was completed, I assembled the layers and then adhered the die cuts to the card front using 1mm foam adhesive for some dimension.
5. For the sentiment I used the Scrapbook.com You're So Sweet stamp set.
6. To complete the card I adhered Gina K Designs Clear Quartz Sequins for a touch of shimmer and shine.

Thanks so much for stopping by today! 

SUPPLIES

Below you can find the supplies I used to create this card. When you shop through the links below, I receive a small commission from Scrapbook.com. These links are at no cost to you and the commission I receive helps me cover the costs of my blog and other expenses, and allows me to continue to provide you with FREE inspiration and tutorials. If you want to learn more about what an affiliate link is, you can see my full affiliate and product disclosure statement here. Thank you so much for your love and support! 

Mixed Media Made Easy with Sizzix and 49 and Market

I'm back to share another card I created using the beautiful new 49 and Market and Sizzix stamps and dies designed by Katie Pertiet. The design and style of these stamps and dies really makes creating a mixed media effect so very easy! I'm sharing all the details in a new video that is now live on the Scrapbook.com YouTube Channel.

Celebrate Card by Juliana Michaels featuring Sizzix and 49 and Market Stamps and Dies Painted Pencil Leaves, Engraved Wings, Floral Cluster Mix and Hello You Sentiments

You can either watch the video below or head over to the Scrapbook.com YouTube Channel HERE to check it out.

If you are interested in the supplies I used to create this card, you can find a complete supply list at the bottom of this post. When you shop through those links, you help support me and I appreciate that so very much!

CELEBRATE CARD

Here are some detail images of the card I create in this video using the new Sizzix and 49 and Market stamps and dies designed by Katie Pertiet.  The finished card size is 4 ¼ x 5 ½ inches.

Celebrate Card by Juliana Michaels featuring Sizzix and 49 and Market Stamps and Dies Painted Pencil Leaves, Engraved Wings, Floral Cluster Mix and Hello You Sentiments


SUPPLIES

Below you can find the supplies I used to create this card. When you shop through the links below, I receive a small commission from Scrapbook.com. These links are at no cost to you and the commission I receive helps me cover the costs of my blog and other expenses, and allows me to continue to provide you with FREE inspiration and tutorials. If you want to learn more about what an affiliate link is, you can see my full affiliate and product disclosure statement here. Thank you so much for your love and support! 

A Crazy Idea with Distress Embossing Glaze

Have you ever had an idea, that you knew was crazy and would take forever, but just had give it a try? Well, that’s exactly what happened with the card I’m sharing in my latest. When I saw the Wheel stencil from Tim Holtz, I knew I wanted to create a rainbow of color through the stencil and I wanted to try doing it with Embossing Glaze. Once that idea was planted, I just had to give it a try even though I knew it would be a slow, time consuming process. And once I started and could see the potential, I had to keep going! In the end, it turned out to be one of my favorite cards to date!

Hello Card by Juliana Michaels featuring Tim Holtz Stampers Anonymous Curiosity Shop Stamp Set and Wheel Stencil with Embossing Glaze

You can watch it all come together by either watching the video below or by heading over to my YouTube Channel HERE to check it out.


If you are interested in the supplies I used to create this card, you can find a complete supply list at the bottom of this post. When you shop through those links, you help support me and I appreciate that so very much!

HELLO CARD

Here are some detail images of the card I create in this video using the new Curiosity Shop Stamp Set an Wheel Stencil by Tim Holtz.  The finished card size is 4 ¼ x 5 ½ inches.

Hello Card by Juliana Michaels featuring Tim Holtz Stampers Anonymous Curiosity Shop Stamp Set and Wheel Stencil with Embossing Glaze


If you're just looking for a list of the Embossing Glaze colors
I used and the order of each they are as follows:

RED: Candied Apple, Lumberjack Plaid, Aged Mahogany
ORANGE: Spiced Marmalade, Crackling Campfire, Rusty Hinge
YELLOW: Squeezed Lemonade, Wild Honey, Fossilized Amber
GREEN: Peeled Paint, Mowed Lawn, Rustic Wilderness
BLUE: Speckled Egg, Prize Ribbon, Chipped Sapphire
PURPLE: Wilted Violet, Seedless Preserves, Villainous Potion


Thanks so much for stopping by today and I hope you enjoyed seeing the process on how I created this card using the Tim Holtz Curiosity Stamp Set and Wheel Stencil with Distress Embossing Glaze.

SUPPLIES

Below you can find the supplies I used to create this card. When you shop through the links below, I receive a small commission from Scrapbook.com. These links are at no cost to you and the commission I receive helps me cover the costs of my blog and other expenses, and allows me to continue to provide you with FREE inspiration and tutorials. If you want to learn more about what an affiliate link is, you can see my full affiliate and product disclosure statement here. Thank you so much for your love and support! 
 

Mixed Media Magic with Sizzix and 49 and Market

Did you know that 49 and Market recently teamed up with Sizzix and that the talented Katie Pertiet has designed a set of gorgeous stamps and dies that are now available for your crafting pleasure? I am so in love with the designs and images that I kind of couldn't stop myself once I started creating with them. That said, over the next couple of weeks, I'll be sharing what I've created either here on my own platform, on 49 and Market's and even on Scrapbook.com's! So stay tuned for all the inspiration coming your way!

As for today, I've got a new video up over on my YouTube channel sharing some mixed media magic using some of these new stamps and dies. If you're looking for even more inspiration, head over to Instagram and check out these hashtags: #49andmarket #49andmarketandsizzix #sizzix #katiepertietdesigns. The 49 and Market and Sizzix Design Teams are sharing loads of inspiration using these new stamps and dies.

Hello Card by Juliana Michaels featuring Sizzix and 49 and Market stamps and dies designed by Katie Pertiet - Floral Cluster Mix, Hello You , Engraved Wings and Artsy Regal Frame

You can either watch the video below or head over to my YouTube Channel HERE to check it out.

If you are interested in the supplies I used to create these cards, you can find a complete supply list at the bottom of this post. When you shop through those links, you help support me and I appreciate that so very much!

HELLO CARD

Here are some detail images of the card I create in this video using the new Sizzix and 49 and Market stamps and dies designed by Katie Pertiet.  The finished card size is 4 ¼ x 5 ½ inches.

Hello Card by Juliana Michaels featuring Sizzix and 49 and Market stamps and dies designed by Katie Pertiet - Floral Cluster Mix, Hello You , Engraved Wings and Artsy Regal Frame


Here's a look at two other cards I created and will be sharing very soon!


SUPPLIES

Below you can find the supplies I used to create this card. When you shop through the links below, I receive a small commission from Scrapbook.com. These links are at no cost to you and the commission I receive helps me cover the costs of my blog and other expenses, and allows me to continue to provide you with FREE inspiration and tutorials. If you want to learn more about what an affiliate link is, you can see my full affiliate and product disclosure statement here. Thank you so much for your love and support!

Subscribe